
Solution
The Trigno Sensors are required to be paired to a particular slot (1-16) or slots prior to running a data collection. The Trigno Base Station will remember the last paired sensors for each slot, requiring the user to simply turn on the sensors for future collections. They will automatically pair to the previously defined slot(s). If you need to change the sensor slot alignment or incorporate different sensors, then the pairing process will need to be followed, as outlined below.
Turning the Sensor On
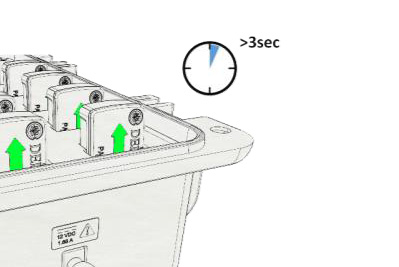
1. Dock the sensor in the charging cradle for 3 or more seconds.
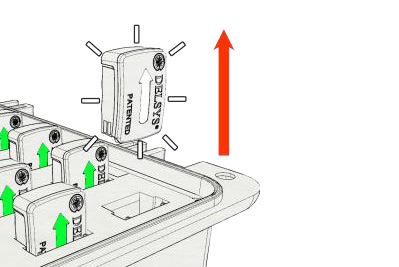
2. Remove the sensor from the cradle. At this point, the sensor will illuminate a white-pinkish LED for 6 seconds.
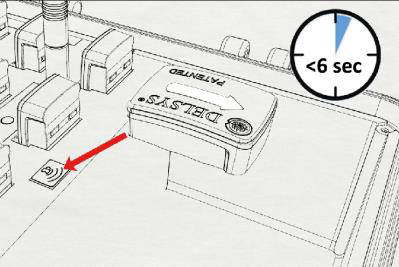
3. While illuminated, tap the sensor to the magnet located on the Base Station. If your Base Station does not have an embedded magnet, any other standalone magnet can be used. If the sensor’s LED turns off, please restart the process from Step 1.
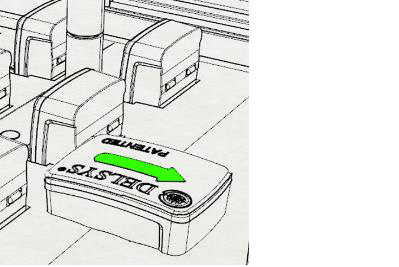
4. The sensor will complete the power up sequence and you’ll notice a green LED appear.
Pairing the Sensors
1. Initiate a pair command from the Trigno Control Utility or the Sensor Status menu found in EMGworks Acquisition (this can be opened by clicking the icon in the top toolbar).
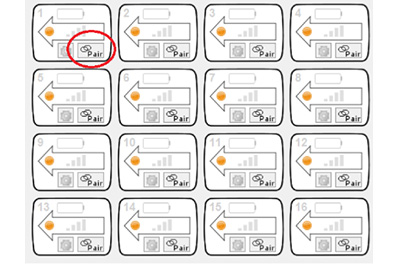
2. After the sensor has been turned on, place the sensor on the magnet.
3. Green blinking LEDs indicate a successful pair operation.
Complete this cycle until all sensors are properly arranged and paired.
Pairing multi-channel sensors – Trigno Quattro, Trigno Galileo and Trigno Duo
By default, these sensors take up more than one of the 16 slots when paired due to the wireless bandwidth required to operate. The Quattro and Galileo Sensors occupy 4 slots, while the Duo occupies 2 slots. Other Trigno Sensors may have modes that increase their slot allotment from 1 to 2 or 4, although these are not by default. For full details on available modes, refer to the Trigno Wireless User’s Guide or specific sensor User’s Guide.
The pairing procedure is the same as above, however, the following rules apply:
- 4-slot sensors can only be paired to slots 1, 2, 3 or 4.
- 2-slot sensors can only be paired to slots 1, 2, 3, 4, 9, 10, 11, or 12.
- When a sensor takes up more than one channel, the associated slots are outlined in blue.
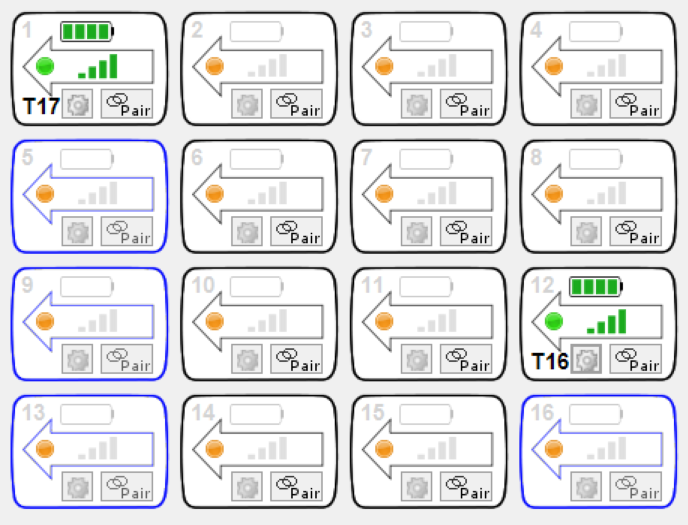
This example shows 4 and 2-slot sensors paired and ready for use.