Sensor Management
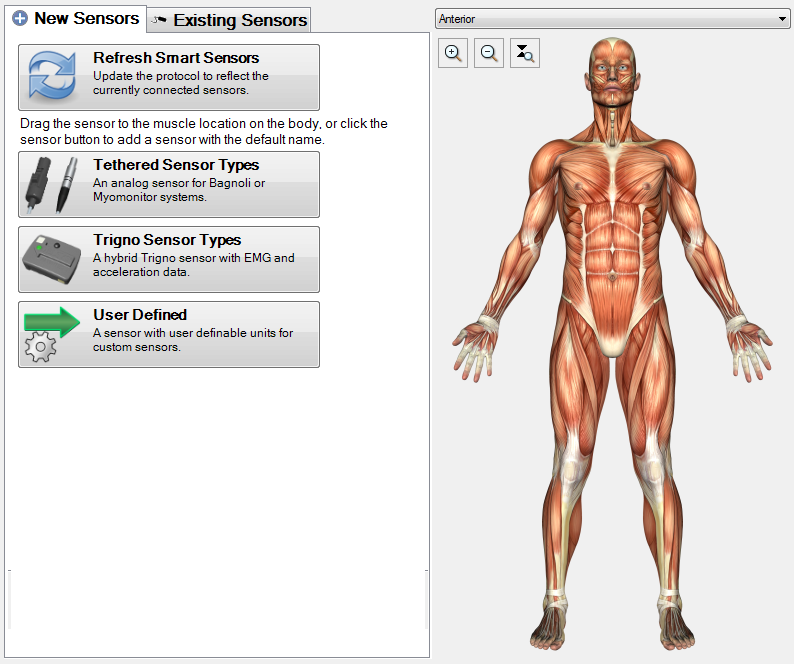
Use the Add a sensor... node and the New Sensors tab to add a sensor to the configuration. You may click on the sensor type button to get a sensor which is not associated with a muscle, or you may drag the icon to the muscle map to obtain a sensor which is associated with a muscle. Once a sensor is added, it will appear under the Sensors node and you can click it to set properties on it.
The button Refresh Smart Sensors will be enabled if the select hardware supports this feature. Clicking it will replace the sensors added in the list to those that the hardware reports as being connected (or paired, in the case of wireless sensors). Pressing this button removes existing sensors from the configuration.
If smart sensors are not supported by the hardware, buttons are provided for common sensor types, as well as a user defined sensor type which can encompass any custom hardware. Some sensor types can only be added to certain hardware types—for example, the Trigno sensors can only be added to Trigno hardware. Clicking a sensor button will add it to the configuration with a default name, which reflects the channels assigned to it. By default, the first available channel or block of channels on the selected hardware device is assigned to the sensor, but it’s possible to change that by clicking Reassign Channels. To the right, there is an integrated anatomical map with many surface muscles identified. Use this drop down to switch between anterior and posterior views. Mousing over the map highlights the muscles. Instead of clicking, one can drag the sensor icon to a muscle, and that will name the sensor appropriately.
The Existing Sensors tab allows mapping sensors which have already been added to the protocol to muscles on the boy afterwards, by dragging them to the muscle map.
Use the drop-down above the muscle map to switch between anterior and posterior views.